 Installing the hardware
This page explains how to insert the card into your machine.
Note that our recommendation is that you use the Apocalyse Installer
to install the card, as it is quicker, easier, and more comprehensive than using Windows
Plug and Play. If you want to take this route, you must run the Apocalypse CD-ROM before
you install the hardware.
Handling the card
Like all cards, Apocalypse 3D can be damaged by
electrostatic charges during handling. To minimize the risk, follow these simple
guidelines:
- Keep the card in its protective packaging until you are
ready to install it
- Just before handling the card, touch the metal frame of your
computer with the back of your hand to discharge any static electricity which may have
built up on you or your clothes
- Hold the card by the adapter bracket or by its edges; do not
touch the printed circuit board
- Do not place the card on top of your computer or on any
other metal surface
- Make sure that the card is not accidentally touched by
anyone else
- Handle the card with care to avoid damage to the fragile
electronic components mounted on the circuit board
Warning: Always switch off your computer before
removing the cover and observe the warnings specified in the manufacturer’s
documentation.
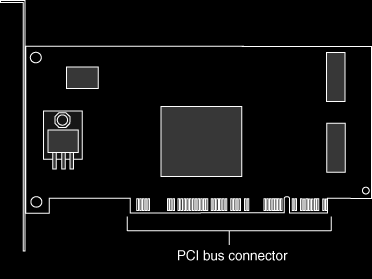
The diagram below shows the connector on the card.
Before installation, make sure you are using a graphics
card with drivers that support Microsoft DirectDraw, and that your PC is running Microsoft
Windows and DirectX.
- Switch off your computer, monitor, and any hardware devices
such as printers connected to your computer. Leave the power cable connected to the power
outlet so that your computer is grounded.
- Remove the computer’s cover. You may need to refer to
the documentation supplied with your computer for instructions on how to do this.
- Locate an empty PCI bus expansion slot and remove the slot
cover. Keep the screw, you will need it later to secure the card.
- Touch the bare metal chassis of your computer with the back
of your hand to discharge any static that may have built up on you or your clothes.
- Align Apocalypse 3D with the slot you have chosen. Firmly
press it into the slot, as shown in the diagram below. You will need to use some pressure
to push the card into position, but do not use excessive force.

- Secure the card using the screw that you removed previously.
- Replace the cover of your computer and switch on your
computer and your computer monitor.